Now that the tarp is tightly secured to the roof seal the edges by laying 2 by 4 2 by 2 or 1 by 3 lumber along the edges of the tarp and screwing the wood to the roof deck.
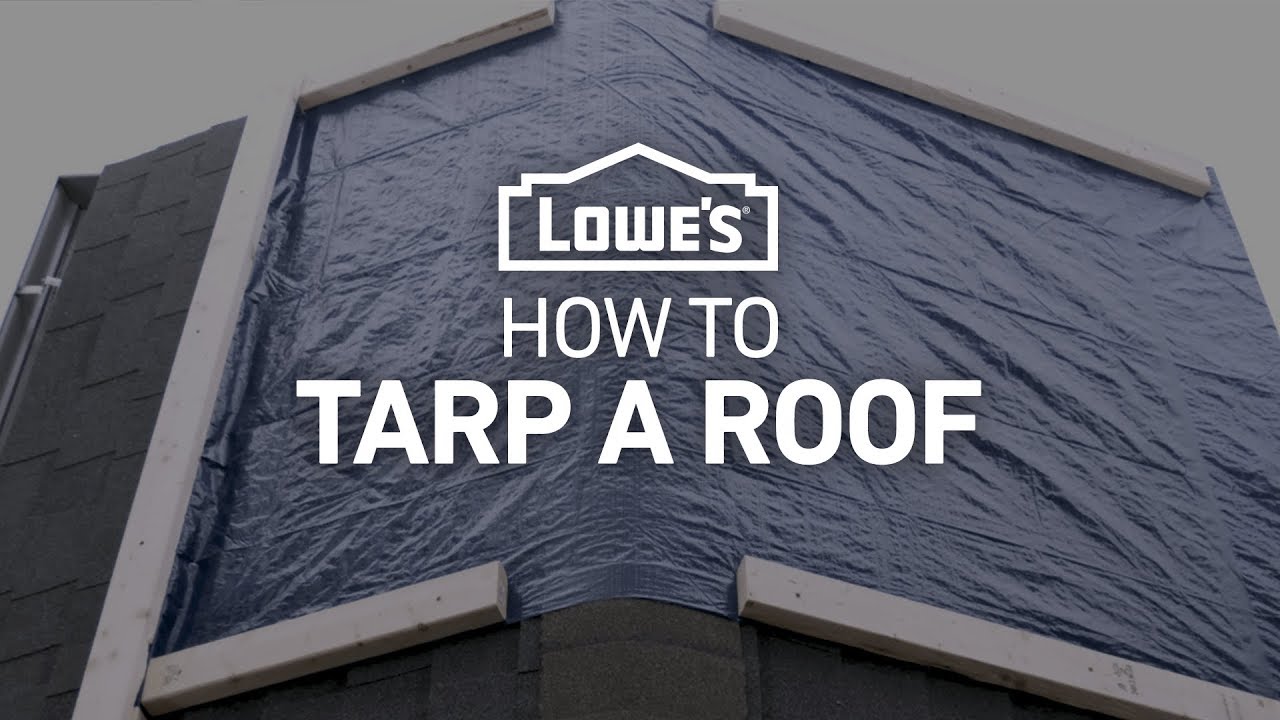
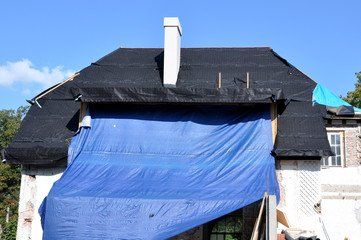
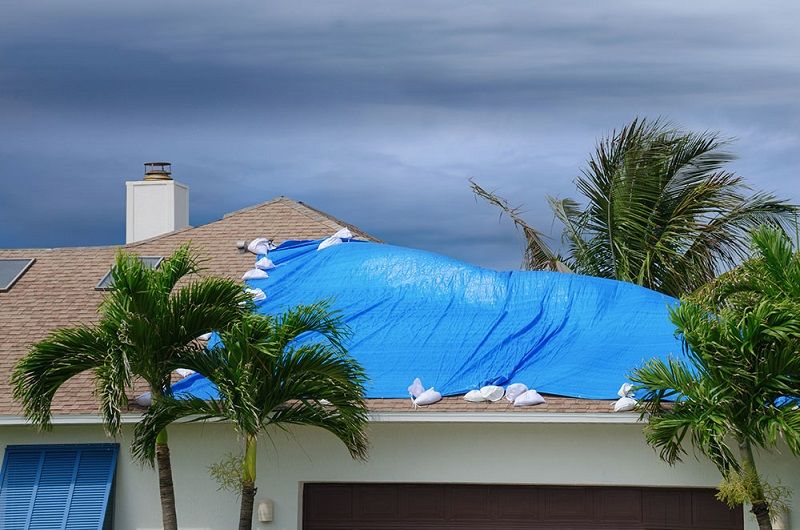
Securing a tarp to a roof.
Screw the 2 by 4 directly into the roof to secure it.
Time to make sure everything is off the roof secure the final strapping used in step 5 every 8 to 12.
Using more 2 x 4 s nail down the tarp s sides.
Here are the steps on how to install a tarp on your roof without nails.
Then fold the excess tarp under a few rotations for a tight clean fit.
Pull the tarp as tightly as you can before securing that piece of wood to the roof deck or the opposite eave.
It s even easier if you do it without nails.
You can cut a hole out of the tarp for this if you need to and secure the sides down with wooden boards.
Installing a tarp on your roof is easier than you think.
Once every grommet has a bent nail in it add a dab of roofing tar into each grommet hole around the nail that penetrates the roof to protect against leaks.
Don t forget to secure the strapping used in step 4.
Pulling the tarp tight around the edges apply 1 3 strapping with deck screws every 8 to 12 making sure you have one within 2 to 3 of each edge.
Roll the opposite end of the tarp around another 2 x 4 and sandwich the tarp with a second 2 x 4 and nail it to the roof sheathing roll side down.
Installing tarp on a roof without nails.
Lay more 2 by 4s on either side of the tarp and attach those as well for a tight well secured water barrier.
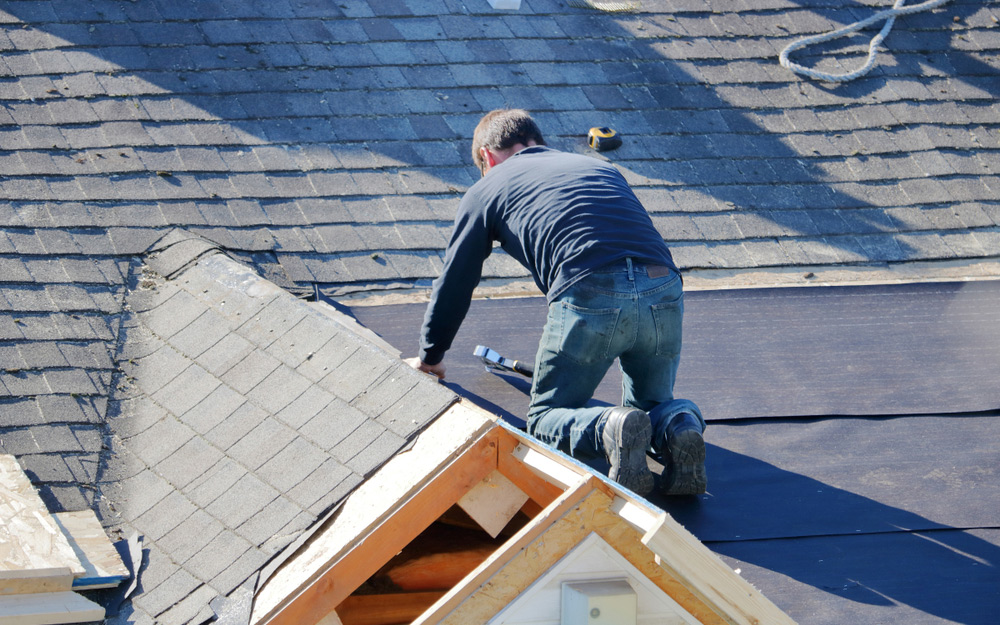
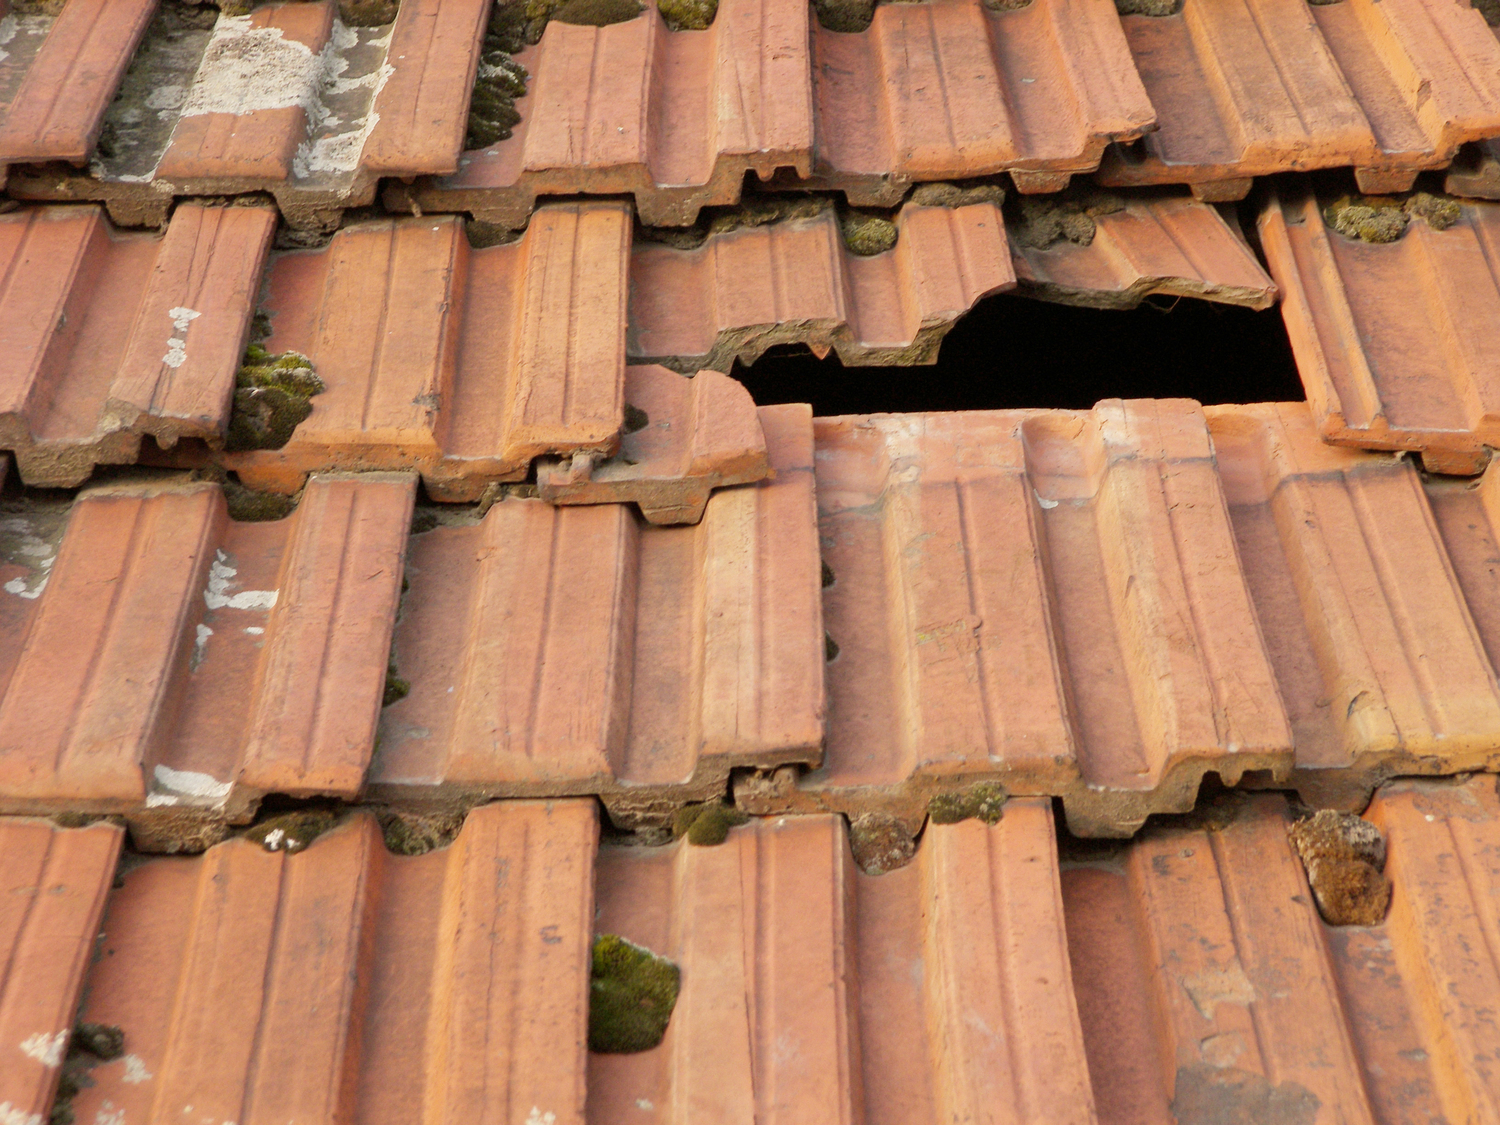
You need to know first which spot on the roof needs tarping up.
To begin securing the tarp screw through the rolled 2 x 4 boards with your screw gun.
Extend the top edge of the tarp over the ridge of the roof.
Not helpful 1 helpful 2.
Secure the tarp s remaining sides with additional 2 x 4 boards using your screw gun and screws.
You want to get long 3 inch nails to get plenty of bite into the roof s sheathing and still be able to bend an upper portion of them to secure the tarp.
To secure a tarp to your roof.
Place the sandwiched tarp along the eaves line and stretch the rest of the tarp goes over the ridge and down the other side of the roof.
Positions several 1 2 pieces of lumber on the tarp running vertically down the slope of the roof.
Fully secure your roof tarp to prevent flapping.
Find the source of the leak.
The 2 by 4 should be about 2 feet longer than the tarp width.
The screws must pass securely into the roof.
This will prevent water and debris from entering the damaged area.
If you can leave a space for the vent to breathe.